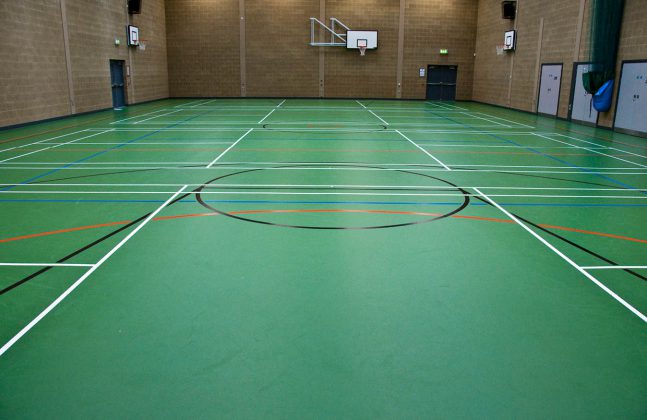
Flooring for sports activities need to incorporate a number of properties to be effective such as resilience, durability and seamlessness. Solutions that unite all of these, as well as being aesthetically pleasing, easy to clean and have the correct amount of flexibility to help users avoid injury tick all of the boxes for us!
But how do you apply such flooring? To illustrate this, we look into a great case study using FlowSport from Flowcrete.
Step 1
Once the appropriate screed has been installed, surface preparation must commence. When properly prepared, a primer must be applied, as well as a scratch coat where necessary. An example of this is FlowSport Primer
Step 2
Next, a base coat with a hardener should be mixed together. Here the applicators are using FlowSport SL Base A with Hardener B – this should be mixed for 90 seconds
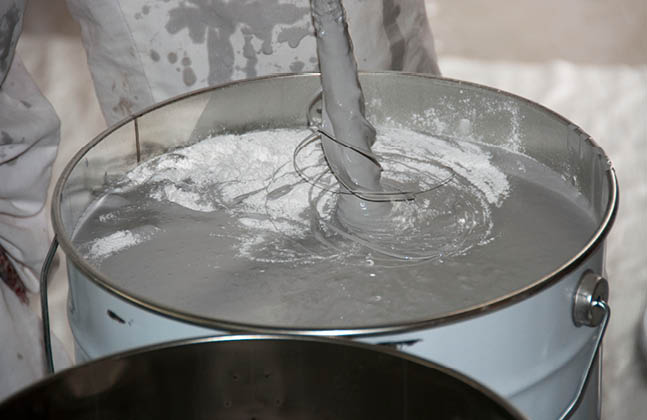
Mix thoroughly for 90 seconds until completely mixed and homogenous
Step 3
Once mixed, pour the solution onto the surface, spreading it with a pin rake and steel trowel to the required thickness. Using a roller will release any trapped air and will also help to level the compound
Step 4
One cured, repeat with a second coat
Step 5
Add a topcoat with hardener and filler. Here FlowSport Topcoat Base A with Hardener B and Filler C have been used. Ensure to mix these components together for 90 seconds until homogenous
Step 6
Apply the topcoat with the roller immediately after mixing. Different colours can be used to create zones and markings
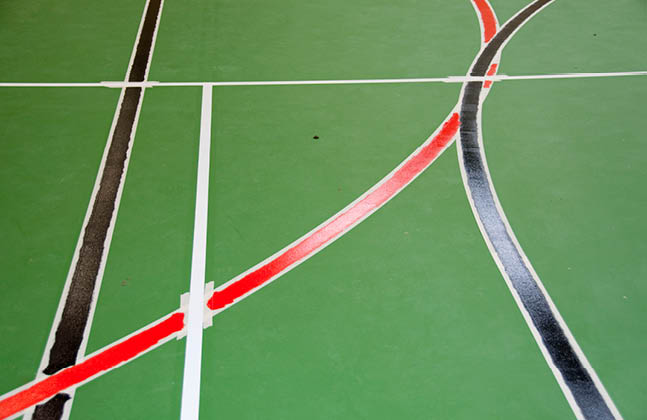
Coloured lines can be created using different coloured topcoat systems
Step 7
Once fully cured, the Flowsport system will be ready for indoor sporting activities
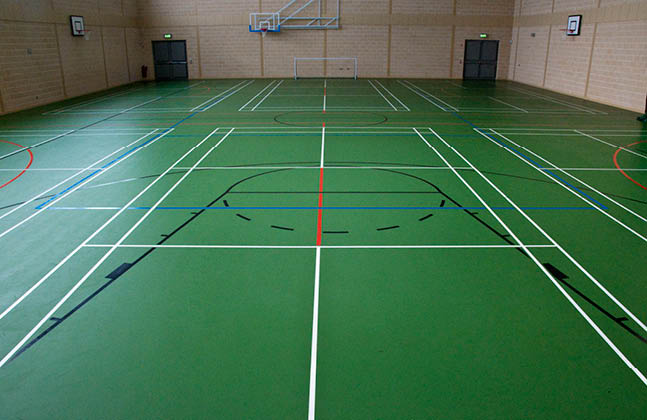
Finished sports centre with multi-use flooring for sporting activities
The video below shows these seven steps in action during an application of FlowSport in a Kuala Lumpur sports centre.
If you’d like to know more about flooring solutions for your sports centre, feel free to give us a call or leave a comment below.

