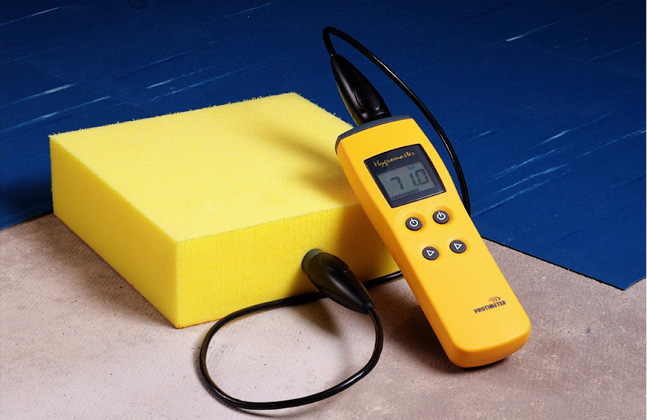
In the previous blog post of this series we looked at how to find out the moisture content of the substrate using a humidity sleeve – today’s blog post is on a slightly different method called a humidity box.
While similar, a humidity box is more physically robust, which can be particularly beneficial in environments where the testing equipment is liable to get knocked and broken during the time it takes to get an accurate reading.
The below nine steps explain how to install and use a humidity box:
1. Place the humidity box on the surface at the required point of measurement and put something heavy (like a brick) on top to ensure it is not inadvertently moved. Ensure the plug is in the hole on the side of the box.
2. If the surface is smooth then no additional sealing is required around the rim of the box. However, if the surface has a rough texture then seal around where the box meets the surface with an inert sealant such as Plasticine.
3. Switch off any accelerated drying apparatus that may be in use for at least four days before taking readings. Thereafter, for un-bonded screeds of thickness 50-75mm (2”–3”) where a damp-proof membrane has been placed between the base and screed, leave the humidity box in position for at least 24 hours to ensure moisture equilibrium is reached within the box before taking readings.
4. For bonded screeds and direct finished base slabs allow a minimum of 72 hours before taking readings. Note that it may take many weeks for equilibrium conditions to be reached within a humidity box on the surface if the slab thickness exceeds 200mm (8”) and / or it has a power floated finish.
5. The Equilibrium Relative Humidity (ERH) reading is made with the Hygrostick sensor that comes supplied with the GE Protimeter Hygrometer instrument. Hygrosticks are fitted with a soft conical sealing sleeve, make sure that the tip of the Hygrostick protudes fully from the narrow end of the sealing sleeve.
6. Connect the extension lead to the Hygrostick and GE Protimeter Hygromaster.
7. Remove the humidity box plug and push the Hygrostick assembly into the hole and twist. Ideally, leave the Hygrostick in the humidity box for at least 30 minutes before taking the first reading.
8. Measure the %rh in the humidity box – assuming equilibrium conditions have been reached then this is the ERH value of the screed or slab!
9. To avoid liquid water damage to the Hygrostick, remember to check that the substrate is “visibly surface dry” before inserting the Hygrostick into the humidity sleeve.


