Stamped concrete has been around for years, the chances are that you have seen this several times, but may have mistaken it for other materials. This is because stamped concrete replicates the look of natural materials such as granite, brick, wood, stone and slate. With a wide range of colours, patterns and textures available, stamped concrete can be used to create natural visuals at a fraction of the cost.
To create such a convincing floor, the right tools, materials and skills are needed. With a skilled professional, the perfect stamped concrete flooring can be applied in 8 simple steps.
Step 1
The first step is casting the concrete – this is the act of pouring the concrete into the desired area. Once poured, the concrete should be compacted and levelled to the desired thickness.
Step 2
Once the surface is level, the Colour Hardener should be distributed over the surface by hand.
Step 3
A concrete float should then be used by hand on the freshly prepared concrete in order to create a smooth surface. As well as preparing the concrete for step 4, floating also removes any surface imperfections.
Step 4
With a perfectly smooth surface, the Colour Release should then be shaken over the surface by hand.
Step 5
Now you are ready to stamp. Piece the stamping tools together, much like a jigsaw and ensure that they are aligned to provide a consistent pattern. Apply weight to the stamping tools evenly and use a textured wheel over any areas that need more definition. Allow this freshly stamped concrete to cure for 24 hours before any light traffic.
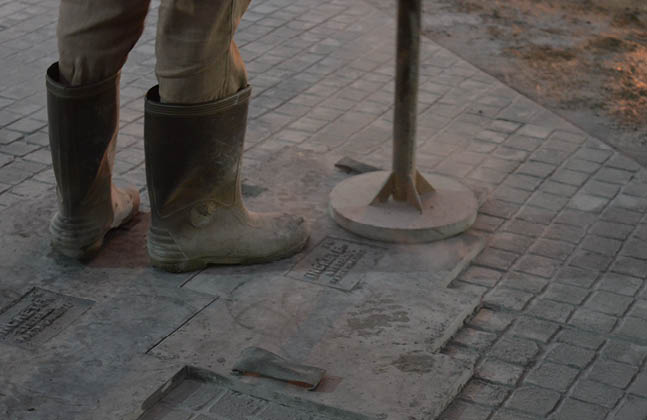
Piece the stamping tools together and apply weight evenly for distinct patterns
Step 6
After this curing period, dust and dirt can be power-washed off the surface.
Step 7
A Release Cleaner should then be used to remove residual materials and dirt.
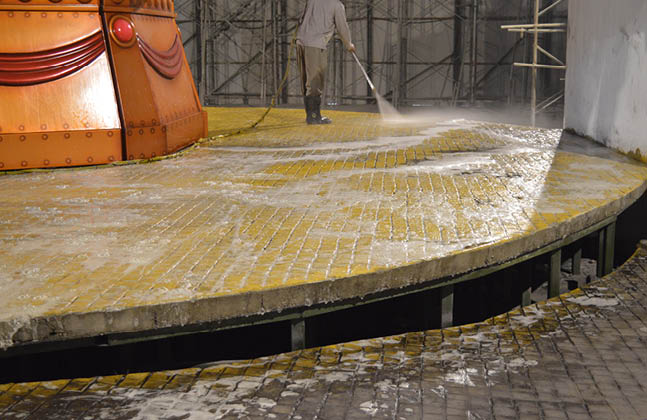
Release Cleaner can be used to wash away any dirt or residual material
Step 8
The final step is sealing the concrete, which not only intensifies the colour but also increases protection against weather and wear.
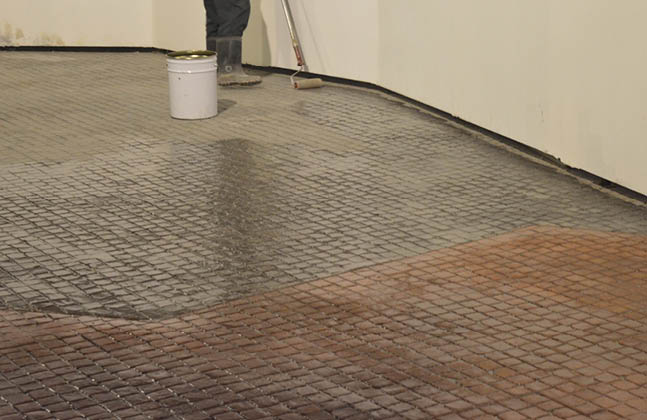
The final step is sealing the concrete. Here Clear Seal F1 was used, followed by Clear Seal 50
The video below shows these eight stages in practice during an application of Increte Stamped Concrete at Genting Highlands in Malaysia.
In the video above, the stamped concrete was utilised to replicate cobbles, in order to provide a decorative flooring solution for a theme park. This material is extremely easy to maintain and whilst long-lasting, it is also simple to refresh using materials such as Renovate if needed.
If you’d like to learn more about stamped concrete and the options available, please drop us a line or leave a comment below.
5 thoughts on “8 Steps to Applying Stamped Concrete”
Comments are closed.

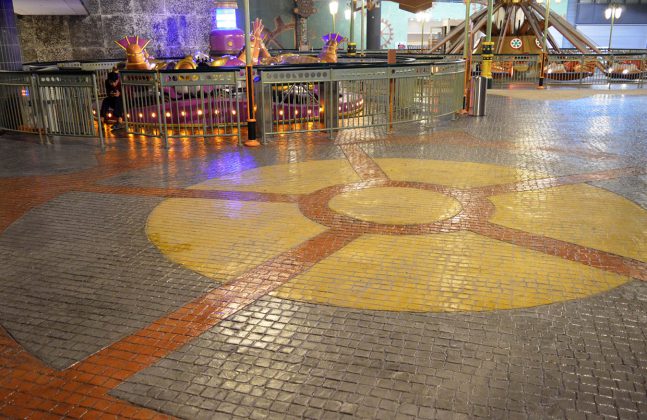




Awesome system
I didn’t realize that stamped concrete replicates the look of natural materials such as granite and wood. I’ve always wanted a pathway in my backyard that had the appearance of wood, but the sturdiness of concrete. Now that I know that I can pull that off through stamp concrete, I’ll be sure to contact a landscaper and see what plans we can start to develop.
Thanks for sharing it step by step as I am planning to have this stamp concrete applied on my outdoor home.
Stamped or printed concrete as some call it is by far one of the most effective ways to cover a large area without making it look too industrial or uninviting. I like how it has increased in popularity over the years.
I like that you state that stamped concrete replicates the look of other materials. My brother and his wife have been looking for a material that would look good in their driveway. I will send them this information so they can make sure to find a stamped concrete service to help them.