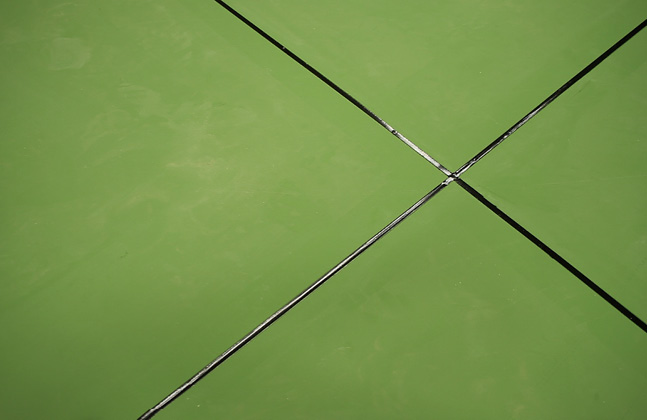
Joints are an essential element for most types of screed and resin finishes, as without them both elements of the floor build up can risk erratic and extensive cracking.
Why is a Joint Required?
By installing a joint it helps to protect the floor from cracks, as should too much strain be placed on the floor then the cracking will be located along the line of the joint in a controlled manner. Without the joint, the cracking could be spread across a wide area.
Joints are also an important flooring consideration within areas with certain service conditions or where architectural factors have a role to play. For example in food production plants some parts of the facility may be prone to thermal cycling or thermal shock, such as in front of hot ovens where the floor will be frequently exposed to intense blasts of hot air. To protect the floor, steel tiles or dairy grids are typically installed which are able to withstand the harsh heat levels. A joint is required around the edge of the tiles or the dairy grid to isolate them from the rest of the floor and to ensure that the thermal impact doesn’t spread.
Other times that a joint will be needed include across door thresholds in order to divide the two different materials that will probably be used in each area of the building. Within thin rooms such as a corridor, a day joint (more on these later) should be installed every five linear metres in order to accommodate the movement and shrinkage stresses the floor will experience. At corners and right angles of corridors a joint is required diagonally across the floor.
If the joints in the substrate are subject to movement, then this must be reflected in the floor finish and therefore a joint should be formed in both the screed and the finish. Similarly, joints should be considered along the lines of rigid support to any precast plank constructions.
How is a Joint Installed?
Essentially there are two different types of joints for screeds and resins, construction and day joints, and it depends on whether the material in question is a bonded, unbonded, floating screed or resin system as to which is used.
Day joints are typically used for cementitious screeds (such as Isocrete K-Screed) and are made at the end of a bay by creating a straight edge, priming the edge (using an agent such as Polymer 70 / Isocrete Primer) and then butting the next section of screed against it. Day joints can also be used for resin screeds such as Flowfresh HF.
If the screed is unbonded or floating then a D49 steel mesh at ¼” thickness should be applied along the day joint at the mid-height of the screed before applying the next bay. This mesh acts as a tie between screed sections. In a similar vein, for resin screeds a steel strip (sometimes called a ‘lat’) can be placed up to the joint, as when this is pulled away the screed stiffens and the day joint is formed. The next day the applicator should saw-cut the joint to a straight edge with a diamond blade before continuing with the next part of the floor.
Construction joints by comparison utilise mastic sealant to form a connection between flooring materials that moves effectively with the building. To create this the joint is saw-cut out and a foam rod placed into the gap. The foam rod controls the thickness of the jointing mastic while also ensuring that the face of each screed/floor section is fused to the one opposite.
To find out more about creating joints in screeds and resin floor finishes, get in touch with Flowcrete UK’s resin flooring experts by calling 01270 753000 or emailing ukweb@flowcrete.com.
In the next technical bulletin Gary Chapman, Flowcrete UK’s Technical Advisor, talks about curing times. If you’ve got a question about resin flooring that you’d like answered by one of our experts, just leave it in the comments section below.


